
UnTapped athlete and cross-country skiing Olympic Gold Medalist, Kikkan Randall is dipping her toe into gravel cycling at this summer’s Last Best Ride in Montana. In search of some help on the nuances of being new to gravel riding, she reached out to our own Ted King for a guide on how to get into gravel. Rest assured, the tables will turn and Ted will take a shot at a nordic ski race this winter.
Kikkan: Hi Ted! Okay, let’s start with the obvious. How should I approach fueling? Most of my events have not been longer than 3 hours.
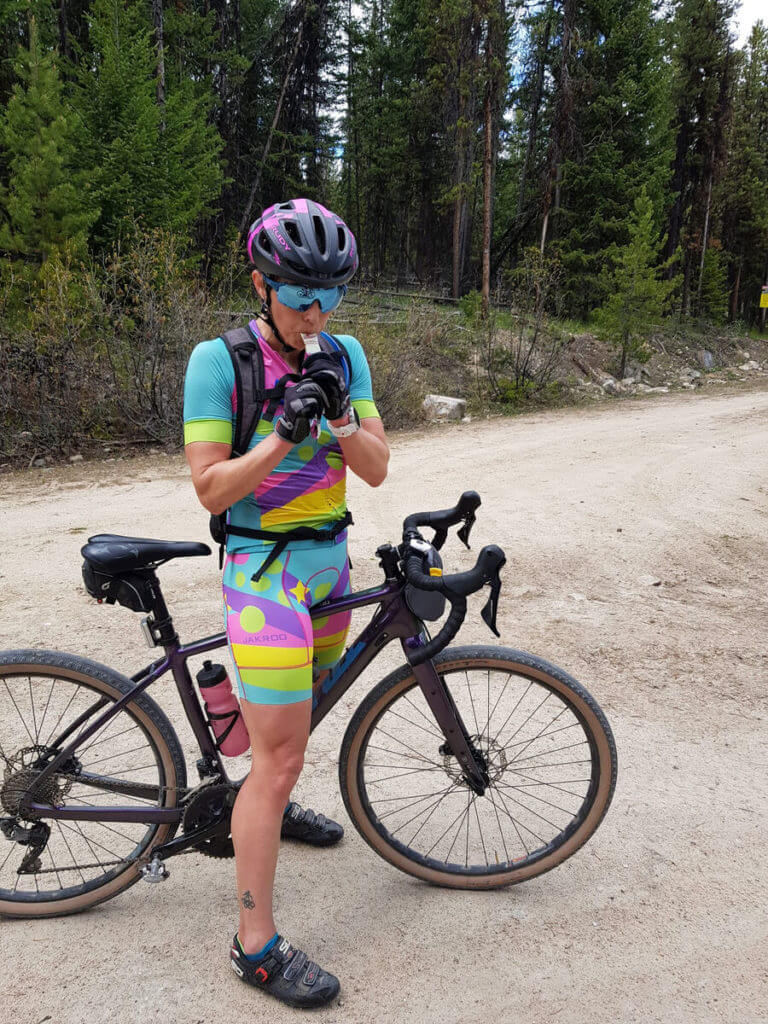
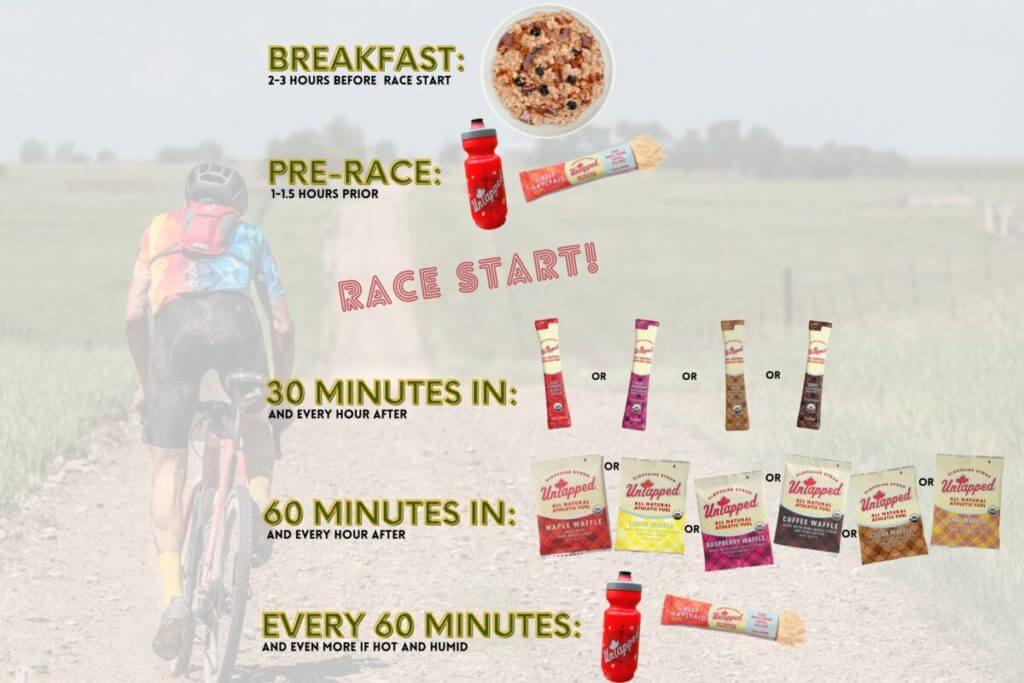
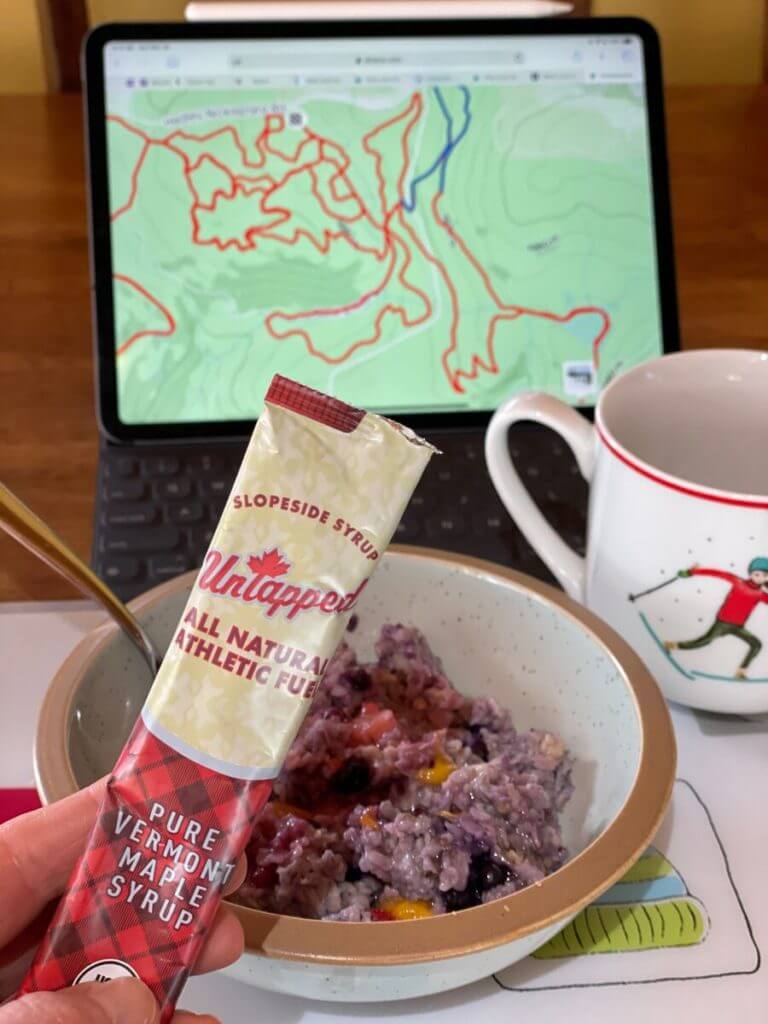
Ted: I’m pumped you’re jumping on board the gravel train! Whether you’re a first timer or a veteran, in my mind fueling is the most important factor to doing well in an endurance cycling event. I subscribe to this fueling guide which has served me well for the past six years.
Start the day with a hearty breakfast and then once the event kicks off be ready to consume calories, electrolytes, and hydration… frequently. Gravel races are getting longer and longer so being well fueled beyond 3 hours is important. Whether that means you set a clock that alerts you to consume something every 30 minutes or you just have an internal reminder, you don’t want to find yourself in a hole for these longer events.
Kikkan: What kind of gear do I need to have with me?
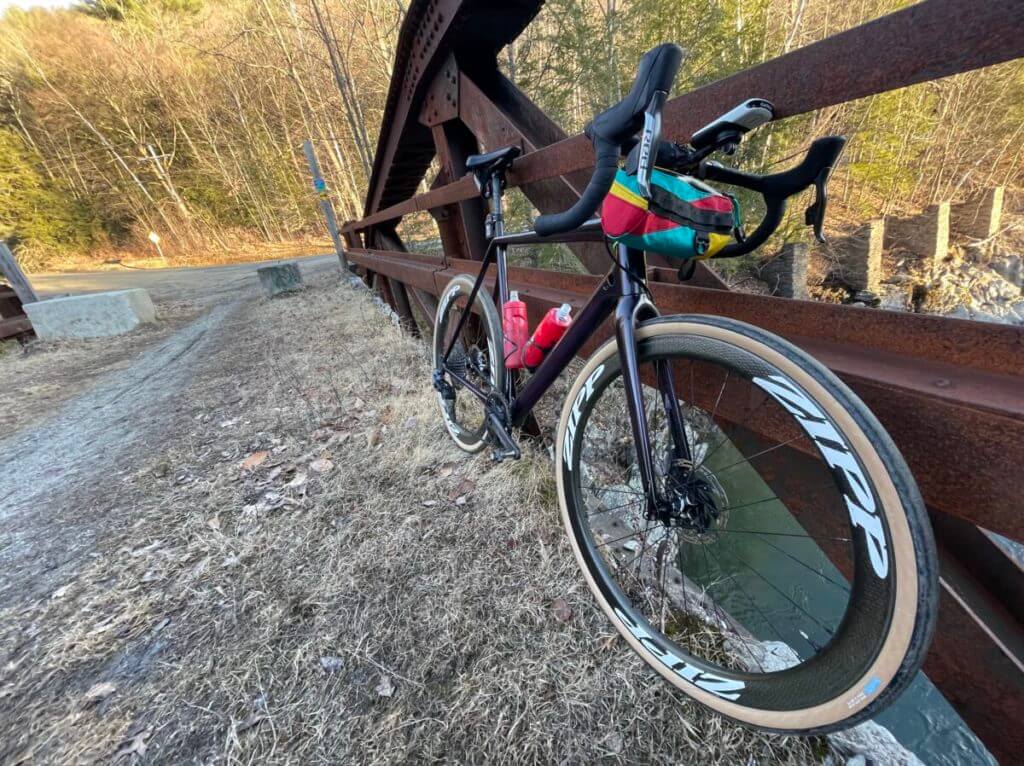
Ted: Knowing how to repair the basics is important so you’re not left high and dry. Here are my suggestions in order of priority when out on the trail. You’ll likely store all these goodies in either a saddlebag or handlebar bag.
First and most common, flat tires. If you have a flat, then a spare tube and CO2 are what you want at a minimum. If you’re riding somewhere that is known for particularly sharp gravel, then a second tube and CO2 is worth the effort. Compressed air (CO2) is the quickest way to inflate a tire and get going, so that’s helpful in races, but a pump will end up being more reliable in the long run. I do suggest practicing using a CO2 at home so you don’t blow it, literally and figuratively, and then have to walk home. Different CO2 valve heads can be tricky.
Tires can often be removed from the rim by hand, but a tire lever is worth while too.
Next, you’ll want a basic multi-tool, primarily covering allen keys. It’s worth double checking that any potentially loose bolts can be reached and tightened with the multi-tool you’re using. It wouldn’t be the first time that someone has tried to tighten bolts XY+Z and find the appropriate allen tool is too short! Reaching the seatpost, the stem, and handlebar are the first things that come to mind.
Other bonus items, depending on where you are and what the event is might include a tire plug for repairing small holes on the fly, $10 cash, and a patch kit. That said, the advantage of gravel races is you’ll see people often and usually other participants are happy and ready to help lend a hand… or CO2.
If your multi-tool has a chain breaker tool on it, that’s not the worst thing in the world. It’s unlikely that you’ll break a chain or snap a derailleur, but if you do it’s mandatory to have a chain tool to save the day. The ability to disassemble and put a chain back together is a handy combination.
Kikkan: What kind of training is most important, intervals and climbing or just long durations on the bike?
Ted: There’s infinite wisdom on training methods but I often say you can’t fake endurance. So first things first, I can’t suggest it enough to just ride your bike! Cumulative training, consecutive days of training, and upping that endurance is nothing but helpful. You don’t really need to train the full distance/time of a long event, so if you’re in a time crunch, then training up to about 60-75% of your target event’s time should be good upper limit.
From there, it’s helpful to know the type of course you’ll be tackling and mimic that with appropriate intervals. Is it a course with lots of short punchy climbs or just one or two super long climbs? Starting with that endurance foundation, try ever-increasing intensity intervals. Threshold (6-20 minute efforts), then VO2 (1-5 minute efforts), then sprint (10-30 second efforts).
And be sure to embrace those rest days!
Kikkan: What parts on my bike do I need to be focused on?
Ted: You’ll want to arrive to the race with your bike in great shape so you’re not held back by something basic and silly, so it’s worth having a tune-up a short time in advance of the event. Depending on your mechanical prowess, you can handle this yourself, or if this is beyond your comfort zone then think well in advance since bike shops are slammed all summer. You’ll want your tires in good condition and topped off with fresh sealant to mitigate flat tires. Especially on hilly courses or if there will be bad weather, good brake pads that aren’t worn down to the minimum are key. It’s also worth checking on the life of your chain.
With those items covered, being sure that your bolts are tightened from tip to tail is worth doing now and again, especially if you’re flying to an event and have had to deconstruct your bike recently. The last thing you want is to see your water bottle cage rattle off mid-race!
If the course is unmarked, you’ll want to practice using self-navigation with your GPS. Some events might use Ride with GPS as the event software and you can get audible cues over your phone. There’s no guarantee that you’re with other riders who know where they’re going, so knowing these navigational basics are important.
Lube your chain and pump up your tires are some last minute things to be sure you’ve done. Since “how much pressure should I run?” is one of the most common questions, there are plenty of great tire pressure guides — I’m a fan of this one from SRAM.
Lastly, be sure your saddlebag is securely fastened and water bottles are full of hydration. Voila, ready to roll!
To see more question from Kikkan, read part 2!