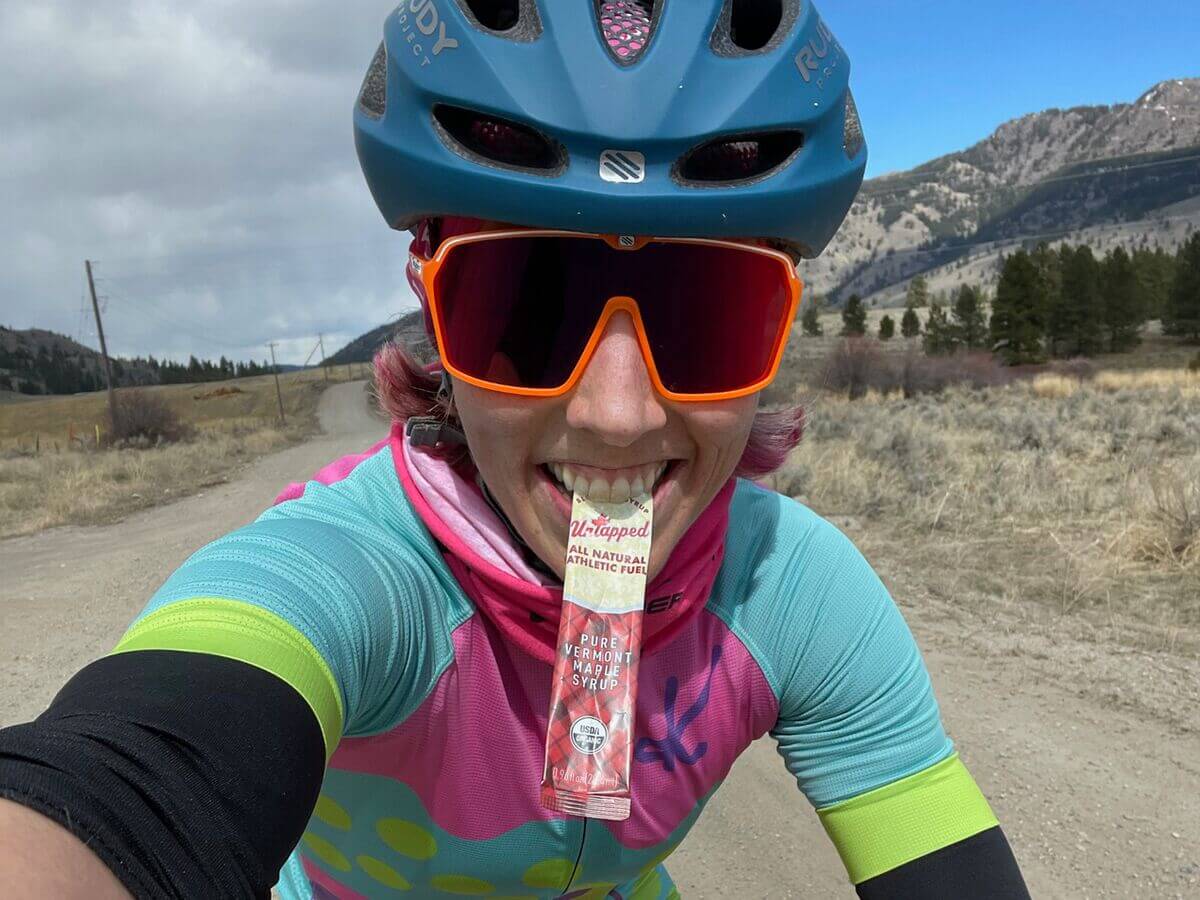
Welcome to part 2 of the Gravel Guide. UnTapped athlete and cross-country skiing Olympic Gold Medalist, Kikkan Randall is trying out gravel cycling this summer and reached out to Ted King to pick his brain on some core questions.
This is part 2 of a 2 part series. To jump back to part 1, read here.
Kikkan: Do I need to worry about chaffing or getting blisters?
Ted: You shouldn’t be that’s a great question. As long as your gear fits well, the answer is no. Gravel cycling attire is meant to be comfy since you’re out in the heat and the elements for lots of hours. You’ll want to think about the five touch points on the bike — two hands, two feet, and your butt. Gloves aren’t mandatory, but you’ll soon recognize their value if you ever exit your bike at a high rate of speed! If people complain of tingling fingers, gloves can help to reduce the vibration, but truth be told a good bike fit will reduce 99% of cycling discomfort.
I don’t know anyone who rides barefoot, so get yourself a pair of cycling socks, which are generally on the thin side. The cycling shoes you use in gravel are typically mountain bike shoes, so you have the ability to go for a bit of a walk as needed, as opposed to road shoes that aren’t designed to walk more than just a few short steps. If anything, err on sizing up a tiny bit so that your feet can expand a touch in the hot summer heat.
Lastly, it could be argued that a good fitting pair of bib shorts is the most important piece of equipment money can buy, since the difference between a good ride and bad ride can come down to the comfort of your underside. Some people prefer chamois cream to reduce friction “down there”. My recommendation is to test out chamois cream and if it makes your ride better, use it. If not, then skip it.
Kikkan: What do I do if I get a flat or have a mechanical?
Ted: This is worth a deeper dive than we did in part 1. After learning to inflate your tires and lube your chain, being able to fix a flat tire is the next piece of mechanical prowess to achieve. Far from mandatory, it’s helpful to ride gravel with tubeless tires and sealant. That way, small punctures are quickly sealed and you’re on your way without having to do a thing. If the hole is bigger than what sealant can fix, then riding with a tire plug is something I’d suggest… and better yet, practice at least once before you find yourself in the heat of competition pulling the plug from your jersey pocket and thinking, “Sooo how on earth does this thing work?”
In short, insert the plug into the hole, quickly flip the tire so that the plug and sealant are at the bottom and the sealant can do its thing. Shake the tire a bit to spread the sealant around the hole, hopefully the sputtering air quickly quiets down and you can continue riding.
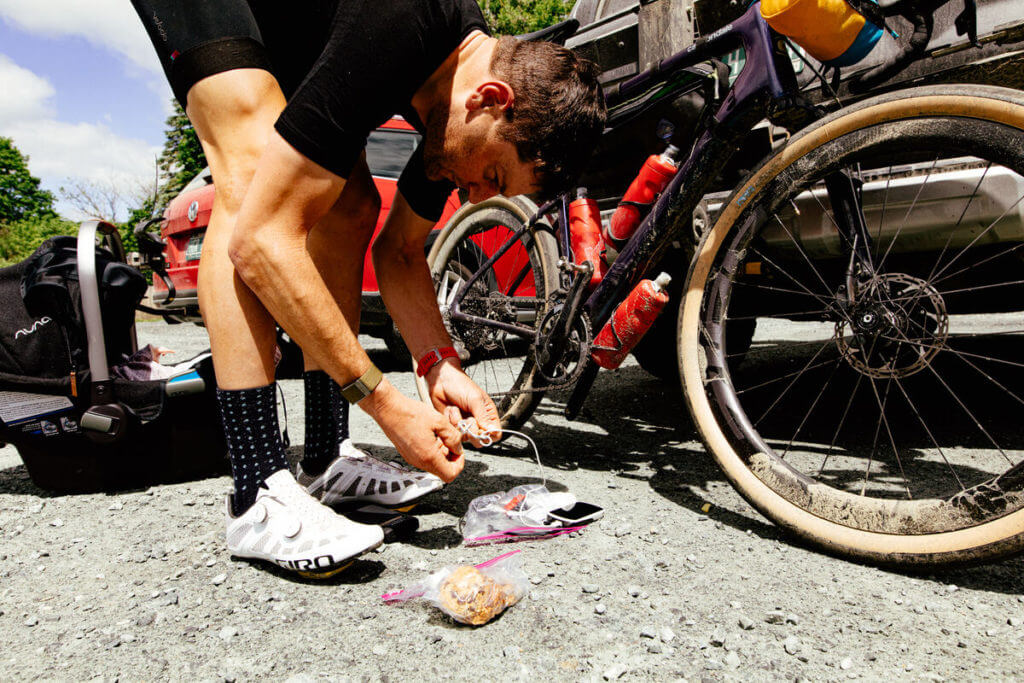
In the event this doesn’t solve the issue, then you’re going to resort to putting a tube in the tire. Take a tire lever to the rim, remove one side of the tire, insert a tube, reseat the bead of the tire, and inflate with either a CO2 or pump. Done quickly, this will take 2 minutes. When things don’t go well — and I’ve been there myself — you’ll find yourself cursing on the side of the road for 20 minutes or more. At which point, you can thank the fact that you’re at a gravel event and ideally there are some friendly other participants ready to help!
And in the event of an even bigger hole will require a tire boot. That’s when you have a gash or anything more than a couple millimeters wide. For a boot, you can use an UnTapped wrapper or dollar bill or actual tire boot you purchase. Basically you want something that’s rigid enough to be placed between the hole and the tube, but not be pushed through the hole because of pressure.
There’s no obvious next level of mechanical issue to sort out. Knowing how to remove a pin of a chain with a chaintool and then reinsert the pin can be a big benefit if you have a kinked chain or have a massive issue with your rear derailleur. Both of those are pretty far fetched, but possible. If you break a spoke, intuition kicks in and you can bend the pesky broken spoke, wrapping it around another neighbor spoke so that it’s not whacking the frame at every revolution.
The more you learn maintaining your bike, the more you’ll want to learn. It often builds upon itself, so you’ll learn a lot quickly. Most bigger bike shops will hold periodic “Bicycle Maintenance 101” classes to help teach the very basics. We also live in an era of learning how to do things with YouTube, but don’t try that out the day of an event.
Kikkan: What’s the best training data to collect for gravel riding?
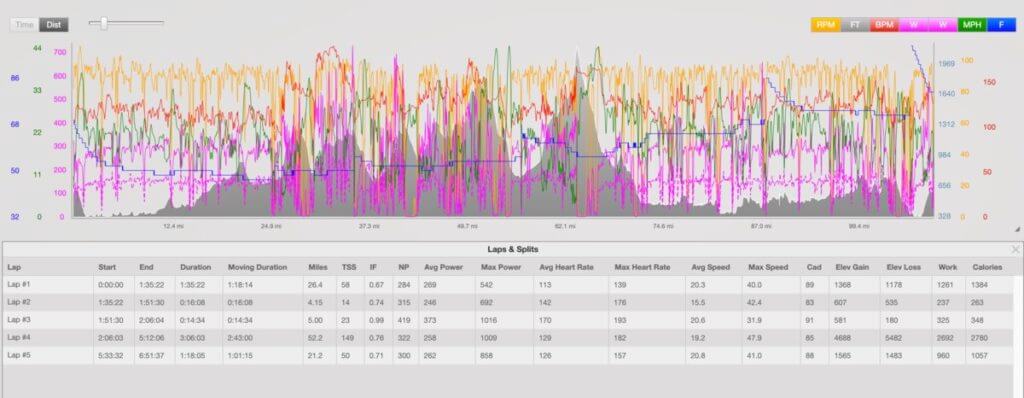
Ted: This is a good question of how analytical you are as a person. You can get by with as little as… well, nothing. Just go out and ride your bike. From there, tallying hours you spend training is a good first metric to track. Perceived rate of exertion on a simple 1-5 scale is your next step to help show that you’re doing a variety of training. Then from there, heart rate data is next and from there a powermeter is the gold standard. But for simplicity and so that you don’t break the bank right from the get go, increasing hours and building your endurance base is important to gain fitness. And then doing a smattering of intervals at all different intensities will help, from easy spins to hill climb sprints.
Kikkan: For a possible 7+ hour race, do I need to pay attention to boosting my calorie/carb intake the day before the race?
Ted: Perhaps… but not necessarily. A well balanced diet is far more important than a carbo-loading specific meal. I certainly wouldn’t suggest starting a paleo diet or giving up on carbs the day before a race, but having nourishing meals the day prior and especially the morning of will send you off in the right direction. Trying to take on board carbohydrates, proteins, some healthy fats and with a focus on real foods will be a step in the right direction. No need to skimp on your morning-of maple syrup either!
Practice your nutrition leading into the event. This is something I suggest both on the bike in training and seeing what meals work well for you going into big training days.

Kikkan: Is it smart to try and go with faster riders or pace yourself for the duration?
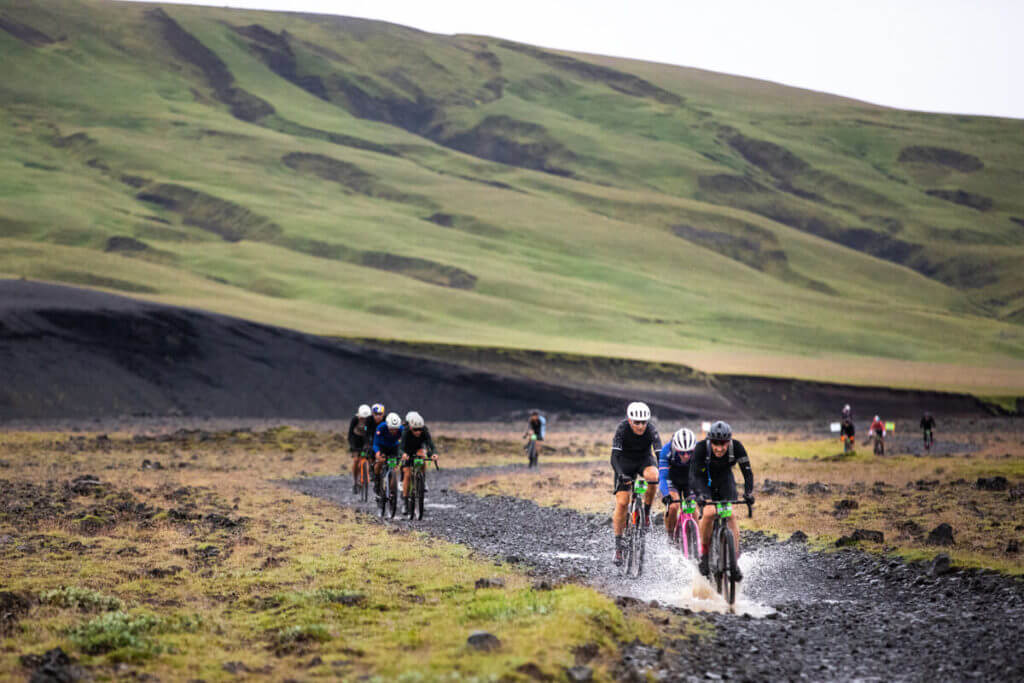
Ted: If history is any indication, people who are new to gravel will have more success pacing themselves rather than going hard early, cooking themselves, and having to limp to the finish line. Gravel events are all kinds of different lengths and intensities, they have all sorts of different formats, but they’re rarely a pure sprint. As any cyclist continues to build their endurance foundation, he or she will be able to push the pace harder, longer.
There’s usually a mass of riders that rolls off the start line together, so it’s a balance of keeping pace with them and benefiting from the draft of a group, countered against not burning all your energy early and finding yourself cooked only a portion of the way into the ride.
Kikkan: Is it better to push harder gears and lower tempo or go high tempo?
There’s no magic number here, but it’s been shown that the ability to maintain a “high” cadence is something that comes with a greater efficiency on the bike. Somewhere in the neighborhood of 90-95rpm is an often suggested sweet spot of cadence, but basically don’t just lumber around at one pedal stroke per second. That said, it’s important to become accustomed to all kinds of different cadences and power outputs since gravel roads are generally quite undulating. Your cadence will drop and your power will increase on climbs; on fast, pedaling descents, you can increase your cadence to well past 100rpm and your power drops just based on gravity and the ability to maintain on top of the gear. I consider anything besides just riding along to be some form of interval, so whether that’s varying your cadence or your intensity or standing or sitting, it’s helpful to mix it up on the bike.
